Install Outside Temperature Sensor - 2001 Chevy Venture |
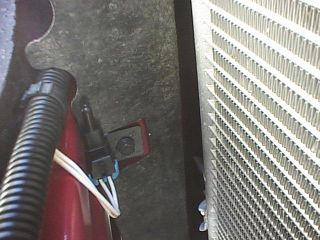
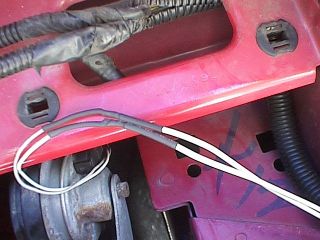
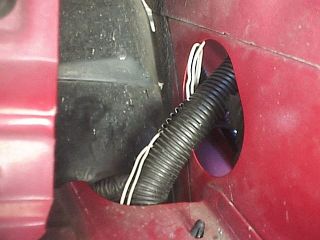
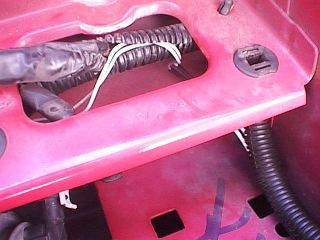
I installed the
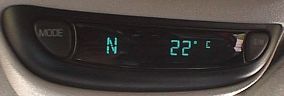
Outside Temperature Sensor after I replaced the Overhead Console in my van.
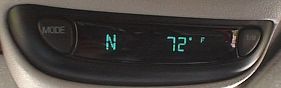
The replacement console included the Driver Information Center that will
display the outside air temperature as long as the right hardware is
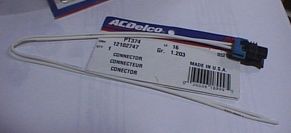
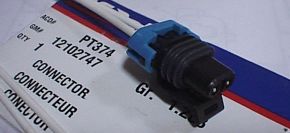
installed in the vehicle. Most of the wiring was already there, but I
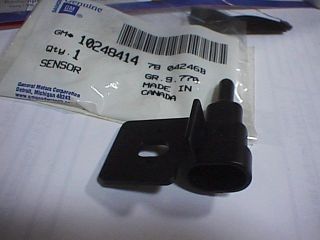
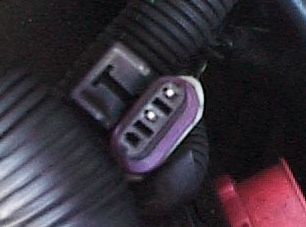
had to purchase the sensor (called the "Ambient Air Temperature Sensor" by
the dealer) and do a bit of "engineering" to get it connected. |
||||||
|